Four images that make a difference
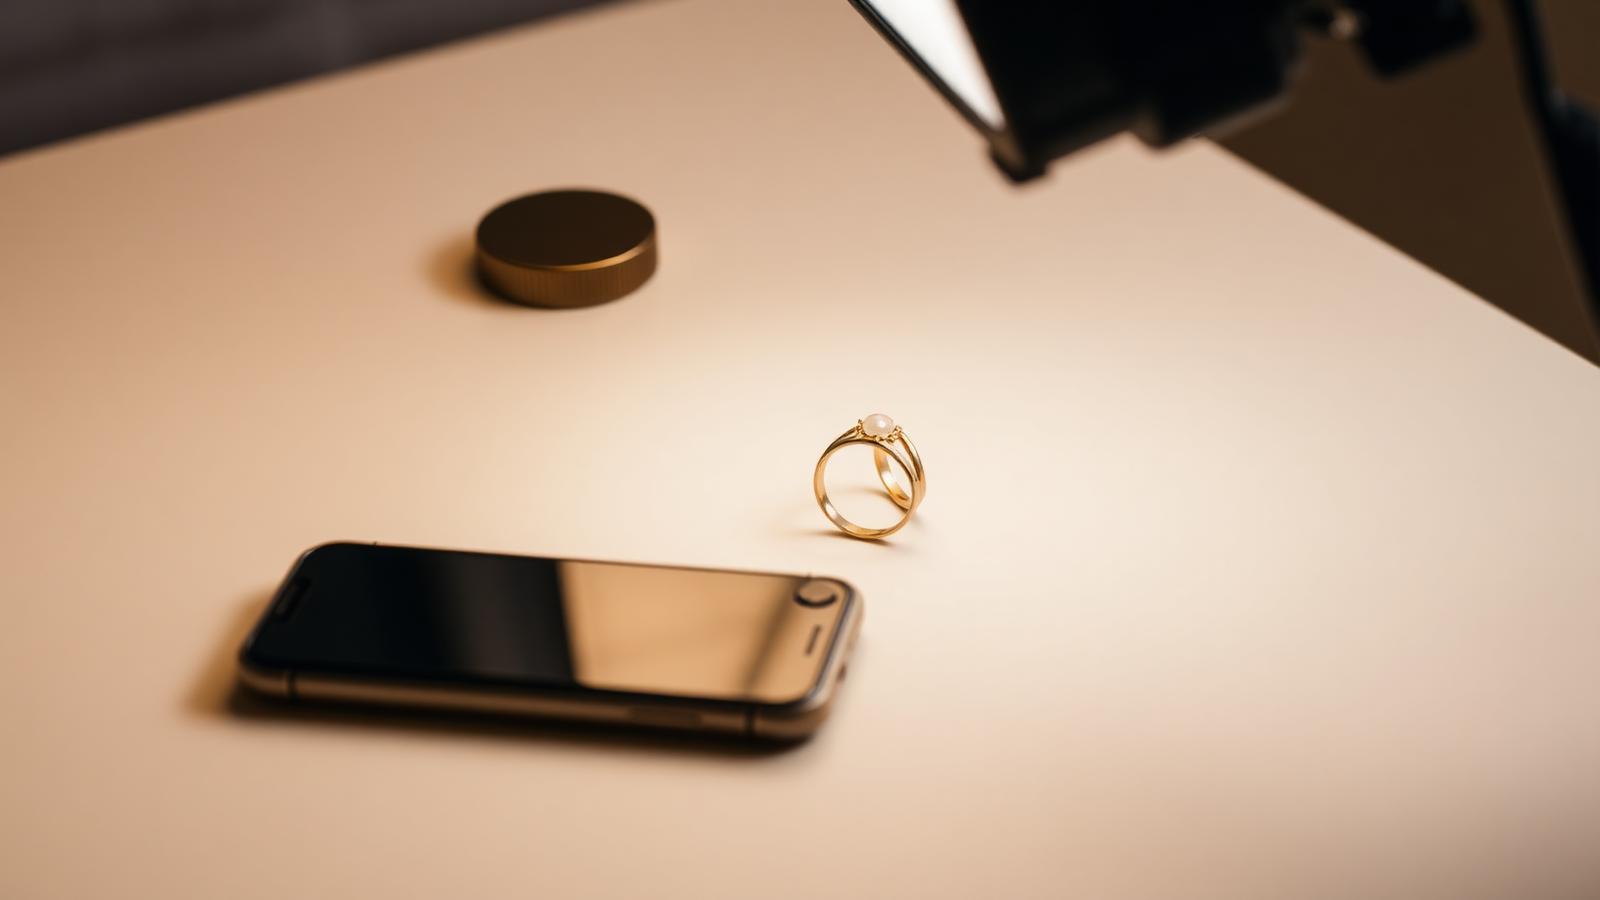
The basic set consists of four photos. One: the front directly from above, with a scale reference next to it. Two: the back directly from above — for the clasp, hallmarks and construction details. Three: a macro shot of the hallmark or hallmark set, large enough to read the marks. Four: an angled shot from approximately 30 degrees — this shows a specialist volume, depth and setting.
For a gemstone additionally: one shot directly from above the stone itself, with the stone in focus and light not reflecting into it. For a necklace or bracelet additionally: one shot laid out flat on an even surface, so the full length is visible.
The basic set consists of four photos.
Light — daylight is almost always the answer
Photograph in daylight, indirectly. A north-facing window on a cloudy day provides the most neutral light. Direct sunlight creates harsh shadows and overexposed highlights; artificial light (LED, halogen) discolours gold and silver tones and makes gemstone colours unreliable. If daylight is absent: an LED lamp with a colour temperature around 5000K and a white sheet of paper as a reflector is a usable alternative.
Turn off your flash. Mobile flashes almost always cause overexposed reflections on metal and gemstones. If it's too dark: choose another time or use a long shutter speed with the phone on a stable surface.
Background and scale
Photograph on an even, non-glossy background. White paper is the standard: it provides neutral colours and does not force the camera into strange colour corrections. Avoid colourful textiles, patterned wooden tables, and shiny marble tops — they distract and disturb the automatic exposure.
Place a scale reference next to (not on) the jewel. A euro coin (23.25 mm diameter for the €1) or a ruler is fine. This allows the appraiser to estimate whether a brooch is 3 or 6 centimetres wide — a significant difference for the assessment.
Hallmarks — macro with patience
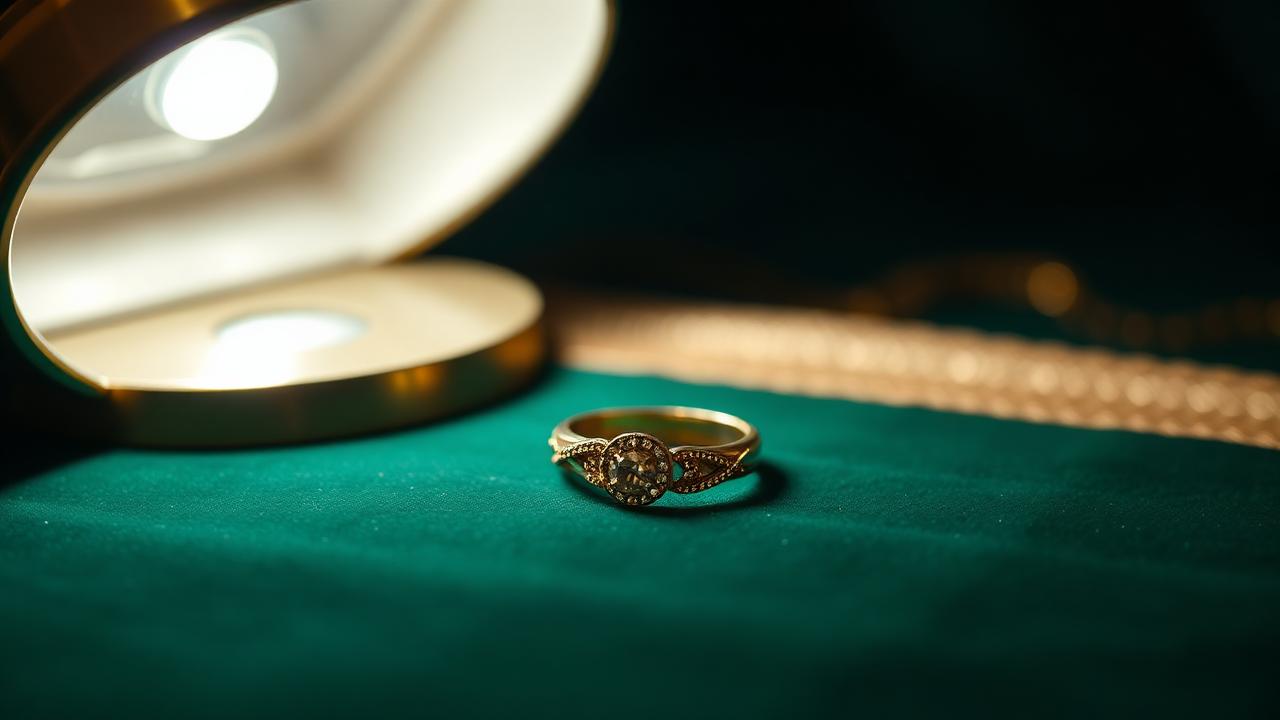
The hallmark shot is the most important and at the same time the most difficult. Use your phone's macro function if it has one, otherwise get as close as possible with the standard lens and crop afterwards. Ensure the hallmarks are sharp and that the light falls at an angle (not directly from above) — angled light shows the relief of the hallmarks better.
If a hallmark has little contrast, it helps to refresh it with a soft cloth and, if necessary, slight angled light from a small torch. Avoid strong reflections: the hallmark must be legible, not reflective.
A gemstone straight from above
For a proper assessment of colour and clarity, a gemstone must be photographed directly from above, with light that does not fall directly into the facets. A tip: place the jewel in the shadow of your own hand, and use a second light source (window) to the side. This way you get the colour without the overexposed highlights.
For translucent stones (opal, moonstone, transparent quartz), a second photo against the light helps: place the jewel between yourself and the window, and photograph the stone against the light. This shows internal structure that is invisible from above.
What you better not do
Copying photos from an advertisement or auction catalogue — we cannot use them for assessment and it makes it impossible to estimate condition. Editing (increasing contrast, colour correction) — that masks the true condition and frustrates the appraiser. Only photos on velvet or a table runner — you won't see the construction on those. Only 'pretty weather' photos without the back — it is precisely the back that tells whether it is handmade or factory-made.
If a specialist requests additional photos after your inquiry, that is a good sign: it means the piece lends itself to assessment and there is something specific to investigate. Take the requested photos as soon as possible, under the same conditions as the first set.